
Dosing pumps are vital in industries like water treatment, agriculture, pharmaceuticals, and chemical manufacturing. But even high-end dosing pumps won’t deliver the expected performance without proper calibration.
In this guide, you’ll learn how to calibrate a dosing pump step-by-step, understand when calibration is necessary, and discover expert tips to ensure precision.
✅ What Is Dosing Pump Calibration?
Calibration ensures your pump delivers the exact volume of chemical required. It involves measuring the actual output and adjusting the settings as needed to match the desired flow rate.
Why it matters:
- Overdosing wastes chemicals and risks damage.
- Underdosing leads to ineffective results.
- Poor calibration can result in legal or safety violations.
🕒 When Should You Calibrate a Dosing Pump?
- During installation
- After repairs or maintenance
- On a scheduled basis (monthly, quarterly)
- When switching chemicals
- If performance issues appear
🧰 What You’ll Need
- Measuring cylinder (1L or 1000 mL)
- Stopwatch or timer
- Bucket for discharge
- PPE: gloves, goggles, apron
- Calibration record/log sheet
🔧 Step-by-Step: How to Calibrate a Dosing Pump
- Isolate the Pump
Turn off the main system flow and isolate the pump for safe access.
- Prime the Pump
Ensure the chemical lines are filled and free of air bubbles.
- Set the Flow Rate
Use the control panel or manual dial to set your desired dosing rate.
- Redirect Discharge
Place the discharge tube into a graduated measuring cylinder.
- Run the Pump and Timer
Start the pump and your stopwatch for a fixed period (typically 1 minute).
- Measure the Volume
Stop the pump after the timer ends and read the volume in mL.
- Calculate Flow Rate
Use this formula:
arduino
CopyEdit
Flow Rate (L/hr) = (Volume in mL / Time in seconds) × 3.6
Example:
If 250 mL is dispensed in 60 seconds:
(250 ÷ 60) × 3.6 = 15 L/hr
- Compare and Adjust
If the actual output differs from your target, adjust the pump and repeat.
- Repeat for Accuracy
Conduct at least 2–3 tests and average the results.
🛠 Pro Tips for Accurate Calibration
- Calibrate with actual chemicals—not water.
- Factor in back pressure in pressurized systems.
- Always log your results with date and operator name.
- If your system allows, use auto-calibration features.
⚠️ Common Calibration Mistakes to Avoid
- ❌ Skipping air removal from lines
- ❌ Using a dirty or unmarked container
- ❌ Running too short of a test
- ❌ Not maintaining a calibration log
📈 Final Thoughts
A properly calibrated dosing pump ensures safe, cost-effective, and compliant chemical dosing. Whether you’re managing a small facility or a large industrial setup, this simple maintenance procedure protects your system and enhances operational reliability.
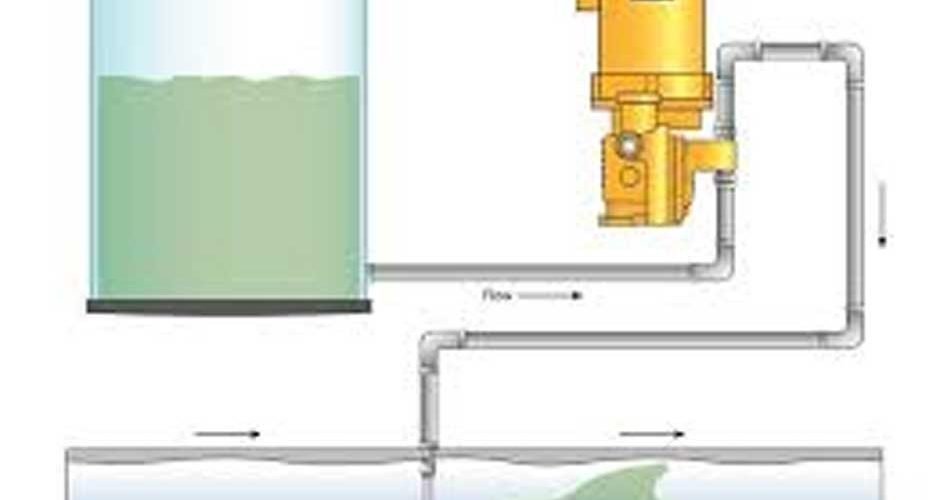
📷 Suggested Diagram for Your Post
Consider including a diagram labeled something like:
“Typical Dosing Pump Calibration Setup”
It should show:
- Dosing pump
- Chemical tank
- Discharge tube into measuring cylinder
- Timer
- PPE-wearing technician