

Table of Contents
What Is Stringify?
Stringify is a mobile service similar to IFTTT or “If This Then That.” It is used to manage internet-connected devices and smart home appliances and automate them to do what they are intended to do.
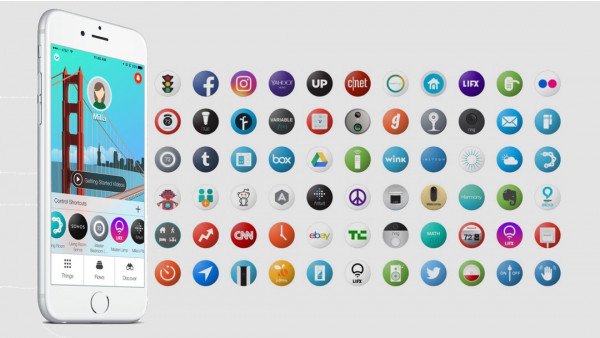
This app supports a range of various physical devices and services, which you find on the download page of Stringify. Some of these are Nest devices, Fitbit, Netatmo devices, Philips Hue lightbulbs. Stringify also supports digital services, such as Slack, RSS Feeds, Google Drive, and Reddit among others.
Every smart device can do one of two things in this app – either an action or a trigger. A trigger refers to the rule that begins automation, while the action is what happens after the trigger.
You can adjust Stringify so various criteria can trigger an action or various actions are triggered. It really depends on you.
You may be curious because it seems simple. Don’t worry! It really is!
Step 1 – Connect your smart devices to Stringify.
The first thing you have to do is probably the most annoying part – to approve and set up your devices. First, download the app and sign up for an account. Next, authenticate all the devices you possess. Meaning, you need to login to your Stringify account on each connected device or service you want to have access to the app.
- Tap the “Things” tab.
- Go to “New.”
- Search the list for the service or device you want to add. Tap it once you find it.
- Tap “Connect” or “Available Triggers & Actions” to know what Stringify can control on your device before setting it up.
- If a device is connected, you will be forwarded to the authentication page. Enter your username and password for the service or device for authentication.
Step 2 – Make your initial flow.
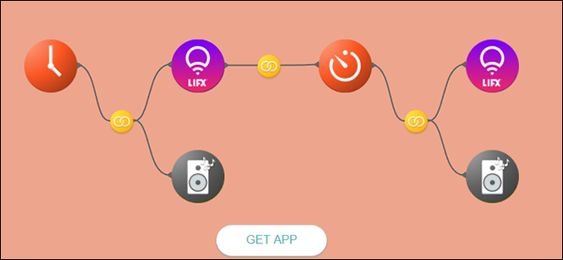
After setting up all services and devices, you now have to make your initial “flow,” which refers to the automation rules of Stringify. An example below is how to make a flow that turns off the television if a certain activity goal is not met by a particular point during the day.
- From the main screen of Stringify, go to “Flows,” then tap “New.” Choose the “+” to add devices.
- In the menu, go to “Select Things.” Then, choose all parameters and devices you want to add in your flow. After you are finished, tap “Add.”
- Everything you have added will now be in a panel and can be found at the screen’s bottom. Tap it, hold, and then drag it into the loops on the canvas in the order of how you plan to use them. Place the triggers on the left side, while the actions on the right. When you have set up your canvas, you have to adjust each parameter.
Step 3 – Set up your actions and triggers.
You are going to see a spinning gear after dragging the items to the canvas. This signifies that you have to set a certain kind of parameter before you can start using the item. Take note that each of them can only do one of two things – trigger or do an action.
For instance, if you use a location trigger, you should choose which location triggers the action.
- Tap an icon that has the spinning gear.
- Tap the action or trigger you want to activate.
- Do this process to all the items found in your canvas.
Step 4 – Connect everything and turn them on.
After setting all your parameters, you now have to connect everything. Simply use your finger and drag a trigger to an action.
Things may get a bit confusing when you have various triggers or actions. For example, you wish two parameters are accomplished before the action happens. For this, you have to drag your finger from a certain trigger into the action and release it right away.
If it successfully links, a yellow icon will show up. If it does not successfully link, the link icon will turn red. This means that there is incompatibility somewhere. If everything is good, drag the second trigger to the link icon that showed up. This will connect the two triggers together.
After making all your links, choose the box found above so you can name the flow you have just created. After that, choose “Flow Box” to activate it.
And that’s it! Give yourself a tap on the back because you have just created your first flow!