
Are you thinking of replacing Mazda 3 struts? Then you should have an idea on how to replace struts on Mazda 3. Okay, give a break to your searching journey because here we will show you all the steps with a detailed explanation.
Driving with bad struts gives you the headache of rattling noise all the time and dangerous too. Moreover, you can’t even go a longer mileage with the bad struts. So, replacing them ASAP is a wiser task ahead.
However, if you think you have enough tools to replace the struts pair or single, then keep on reading. Following this article, you can easily replace your car’s struts and save your bucks and time too.
Table of Contents
How to Replace Struts on Mazda 3?
Let’s get straight to the point. Here, we will show you the method for replacing front struts. And the whole process will go through two chapters-removal of the old strut and installation of the new strut.
Don’t worry. We will take you into the depth of each chapter of your mazda 3 struts replacement that you will feel like watching every part through this writing. Let’s start it!
Tools We Need Here
Oh! Keep the tools ready near at hand that we need in the time of replacing. Have a look at them once so that you need not look fro in the middle of working.
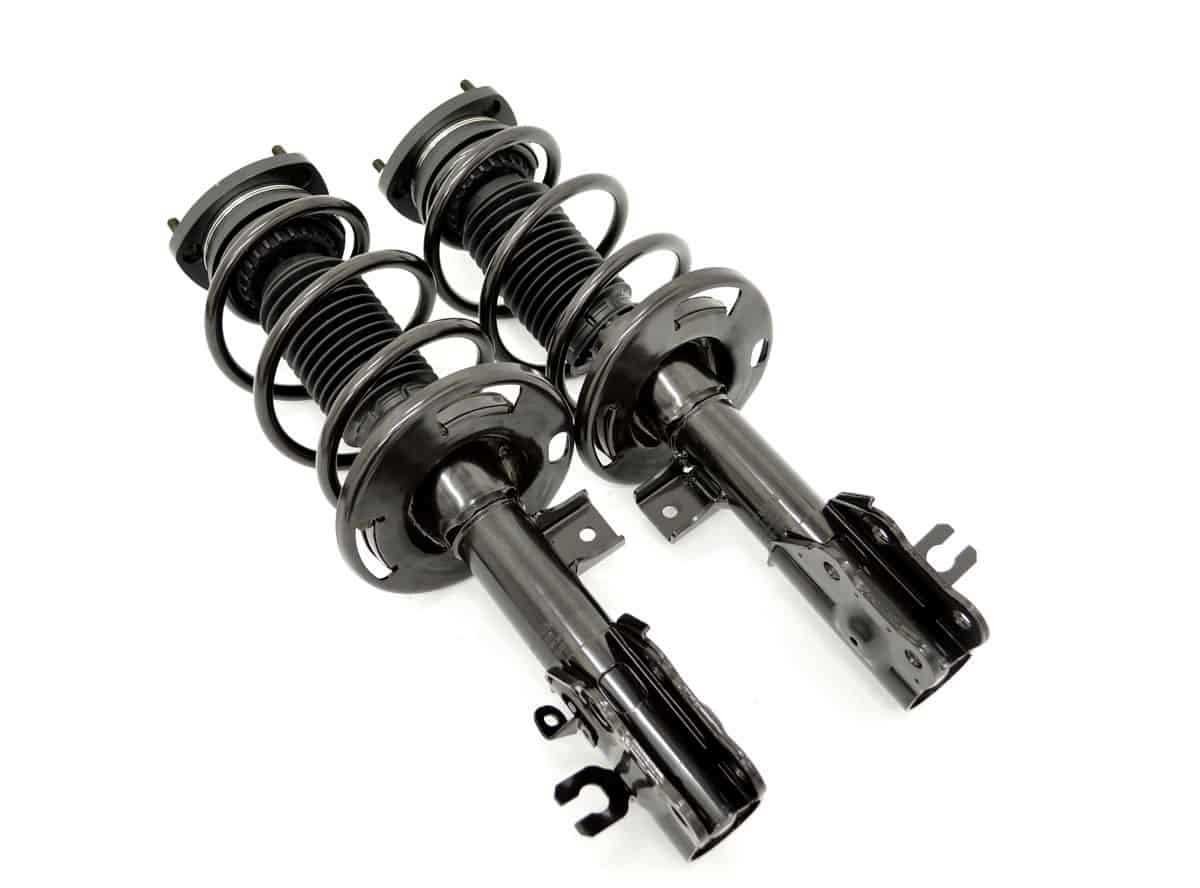
- New struts
- Jack stand to uplift your car
- 13 to 19mm socket wrench
- Flat-head screwdriver
- Hammer for assistance in removal
- Pipe for leverage
- Torque wrench
- 5mm Allen socket
Steps for the Old Strut Removal
We are starting the process for replacing the left strut of the year 2004 to 2013 Mazda 3 models. Steps are as follows-
Step-1: Loosen the Lugnuts
The first task you have to do is loosen the lugnuts from the wheel. Ours is a 21mm lug nut socket. You can check yours. Loosen all the lugnuts.
Step-2: Uplift the Car & Remove the Wheel
Now using a jack stand, raise your car. Take off all the lug nuts and remove the wheel. It might not be a very tough task to do. I hope you can do this well.
Step-3: Unclip & Move All the Cable Lines
After removing the wheel, behind the brake rotor with the struts, you can see two cable lines are attached with the strut with a bracket mount.
On the right, the front flex hose line coming from the front is mounted with the bracket. Take a flat-head screwdriver and take out the tension spring clip. Then carefully remove the cable hose from there.
On the left is the ABS( Anti-lock Braking System) line. Take it out and keep it away from the struts. If you want more security can remove the cable line from behind the brake rotor. There is a tab. Push down the tab button and pull it out. Now all the cable hustle is clear.
Step-4: Remove the Upper Sway Bar LInk
In the Mazda 3, there is a sway bar link attached on top of the strut rod. You need to unbolt it and take it off.
Let me give you a hint here. The bolt here is a 14mm bolt and in the center is a 5mm Allen head, which you can loosen with the 5mm socket wrench.
Hold the Allen wrench with the 5mm socket wrench with one hand, and with another wrench ratchet, loosen the nut. Remove the bracket from the front and the sway bar from the behind.
Step-5: Unbolt the Strut from Behind the Rotor-Disc Knuckle
Behind the rotor disc, the strut is held on the base of mounted with the knuckle. Take a 17mm socket wrench with a long tailpipe as you can’t loosen the bolt finely for small, rugged space behind.
Loosen the bolt and remove it from the knuckle. Now, use a hammer to take the strut out of the knuckle gulp. Hit the knuckle with a hammer in a downward motion. You have to pay a hard sweat here. So, hit with the bigger hammer to free the strut from the knuckle’s grip.
When the strut comes out of the grip, then break your tiring task and stop hitting. This might seem the more challenging task in the whole replacement process.
Step-6: Unbolt the Top Mounting Nuts
Now, go to the top of the car under the hood. There are three bolts on the top left corner. Loosen all of them one by one. Here you need a 14mm socket wrench. Don’t remove them now; just loosen them.
Never loosen the nut in the center!
After loosening all of the three nuts, hold the strut with one hand and remove all the nuts. We are saying this for precaution so that the strut does not fall suddenly and make some incidents.
Steps for the New Strut Installation
Hoo! The removal of the old strut is finely done. Now, installing time. Before installing, make sure to clean all the nuts, bolts, and mounting brackets and make them rust free by sanding.
Step-1: Start Mounting from the Top
Enter the new strut and place it into the position, and bring it to the top. Hold it with one hand and keep it aligned to insert the top three bolts you have taken out before.
Tighten all the three bolts from the top and go down.
Step-2: Place the Strut into the Knuckle’s Grip
Now, push the rotor disc part back and forth and make the strut sit in the right position. Be careful here. Behind the strut side, the middle bracket should be in line with the knuckle’s hub.
Use a jack stand under the rotor disc and push it up to make the strut fit into place.
Step-3: Insert the Bolt inside the Knuckle
Insert the 17mm bolt inside the knuckle hub and tighten it with a socket wrench. You can take out the jack stand now.
Step-4: Mount the Sway Bar Bracket & Link
Place the sway bar link from behind. Insert the bracket that you took off place it in the right direction. And insert the 14mm wrench and then in the center the 5mm Allen nut. Like we loosened it, now tighten it holding the center wrench with one hand.
Step-5: Place the ABS Cable & the Flex Hose Line
Clip-in the ABS cable line. Also, mount the clip inside the ABS harness.
Then, on the upper right of the strut, the flex hose line needs to be mounted. Twist a little and insert the hose into the bracket. And then enter the flat clip that you took out to secure the hose line.
Step-6: Insert the Wheel & Tighten the Lugnuts
After that, insert the wheel on nuts and insert all the lugnuts. Tighten the lug nuts, and you are done with the replacement of the Mazda 3 struts.
In the same way, you can replace the other right strut too.
Final Words
Replacing the struts can take around 2 hours if only you are installing the mount-ready struts. Nowadays, these install-ready struts have made the struts replacement straightforward and time-saving.
In this article, we have shown the detailed steps that will help you to understand how to replace struts on Mazda 3. Make your Mazda 3 run as your desire.