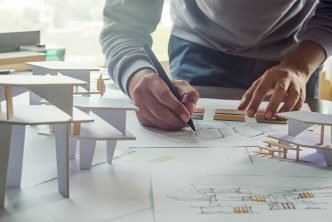
If you are wondering about the right time to install solar power in your home, this is the perfect time to do so. There are government subsidies and rebates for solar power systems. Once you buy your solar power system, here is an easy-to-follow guide to set up solar power at home. Read on to learn how to DIY like a professional.
Table of Contents
Before Installing Solar Power
There are factors to consider before the actual installation starts. They include;
The Components Requiring Installation
There is a need to establish if the installation will be of assembled components bought as a set. The alternative to that is assembling the power system from scratch. See if the installation will be a one-off project. Or it will start with purchasing and installing a few panels at a time. Another necessity is the ability to do some calculations, for instance, the number of solar panels needed to power the household.
Location of Installation
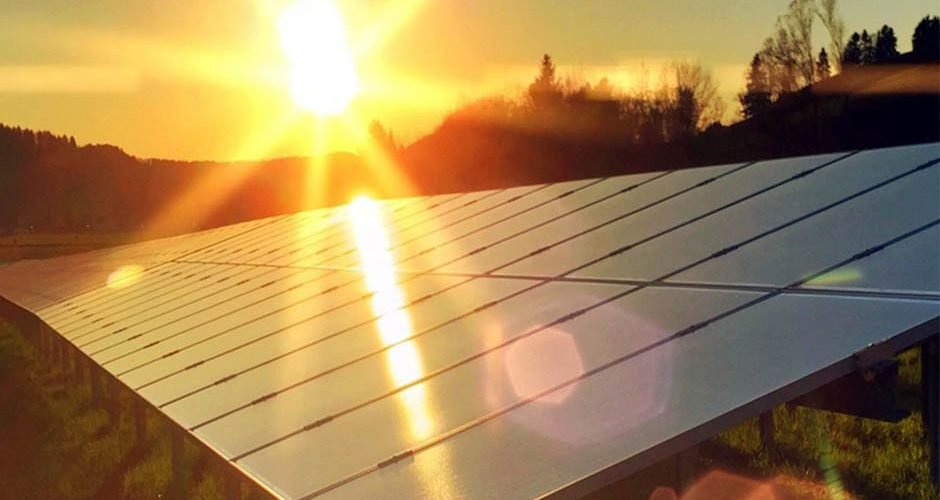
Survey the home and identify the most viable position to install the solar panels. Most homeowners opt to install them on the rooftops. There, the panels receive optimum exposure to the sun. An open location away from obstructions works best. The choice of location should also factor in security. Choose a place where the panels and the whole system are out of reach of thieves or accidental damage.
The Skills Needed
Completing the installation correctly requires some skill. Such include driving lag bolts and assembling solar power parts. Take time to familiarise yourself with the tools needed and the solar power system parts.
The major parts of the power system are the solar panels and the inverter. It also has a charge controller and battery pack. The installation also requires the skill to climb up ladders to the rooftop. That is the ability to access the place of installation safely.
Weigh the Options
Some damages during installation can void manufacturer warranty claims on the power system. Filing warranty claims also may require the support of installation companies. Such companies also offer incentives on installation deals that translate to discounted costs. So, consider the possibility of losing such benefits for a DIY installation.
Installing the Solar Power System: Step-by-Step
The following steps guide the installation of the solar system:
- Installing the solar panels
Set up the scaffolding on the roof. After that, install the solar mounting system. It will act as the base for the solar panels. For optimum exposure to the sun, tilt the mounting structure at an angle of between 20 and 36 degrees. Use nuts and bolts and securely fasten the solar panels onto the mount.
- Perform the electrical wiring
Use connectors to wire the installed solar panels. Turn off the electricity supply in the household before attempting the wiring. Choose MC4 connectors, as they show compatibility with most solar panels.
iii. Connect the solar inverter to the system
Install the solar inverter indoors or outdoors out of the sun. Find a cool, airy place for its installation. Connect it to the solar system.
- Integrate the consumer unit
Have a generation metre connected to the consumer unit. The inverter will generate electricity. Link a metre to the system to track the amount of power produced.
- Test the power system
Switch the power on after completing the installation process. Test the system’s performance using the meter before linking household appliances.
Conclusion
Self-education and focus on detail play a major role in installing solar power at home. Hiring a professional requires hefty installation fees. Savings from solar power include the installation costs. Remember, though, that solar system installation involves electric wiring. Any wrong wiring or installation could cause malfunctioning and risk of fire. Investing in technical skills goes a long way in this task.