Replacing a Duramax Turbo Coolant Hose is a significant repair that addresses a critical component of your vehicle’s cooling system. A leak in the coolant hose can lead to engine overheating and subsequent damage. Thus, it’s essential to approach the replacement process methodically. This involves thorough preparation, ensuring you have the correct tools and parts, including a suitable Duramax turbo coolant hose kit.
The replacement process itself requires precision and attention to detail. Before beginning, one needs to gather all necessary tools, which typically include a set of wrenches, screwdrivers, pliers, and possibly a jack and jack stands if lifting the vehicle is needed. With the tools at hand and the engine cooled down, the procedure starts with draining the existing coolant and carefully removing the faulty hose without damaging any nearby components.
Table of Contents
Key Takeaways
- Accurately diagnosing a coolant leak is crucial.
- Proper tools and a new coolant hose are needed for replacement.
- The replacement should be done with a cool engine and requires attention to detail.
Preparation and Tools Required
Replacing the turbo coolant hose on a Duramax engine requires precision and attention to detail. The following subsections will guide you through identifying the correct coolant hose for your vehicle and assembling the necessary tools.
Identifying the Correct Coolant Hose
It’s essential to source the correct hose, as using the wrong one can lead to leaks or engine performance issues. For Duramax models, especially the LLY variant, the coolant hose typically needed is on the passenger side with a 90-degree bend to prevent kinking. House part numbers should be matched with GM specifications to ensure compatibility. Local parts stores or authorized dealers will provide these hoses, often labeled with the required specifications for various model years.
Tool Gathering
The tools required for this job include:
- Socket set: Various sockets are essential for removing clamps and fittings.
- Pliers: For hose clamp removal and securing the hoses.
- Screwdrivers: Flathead and Phillips screwdrivers may be needed to loosen specific components.
- Torque wrench: Ensuring bolts are tightened to the manufacturer’s specifications.
- Drain pan: To catch any escaping coolant during the hose replacement.
Gather these tools before beginning the task to streamline the process, paying close attention to any older thread patterns, which may require special adapters or additional tools. Having everything at hand will facilitate an efficient and successful coolant hose replacement, preserving the engine performance of the Duramax without unwanted downtime.
Step-By-Step Replacement Process
Replacing a Duramax turbo coolant hose ensures the efficient functioning of the cooling system by preventing leaks and overheating issues. This process requires precision and attention to detail to maintain the longevity of the Duramax engine.
Removing the Old Coolant Hose
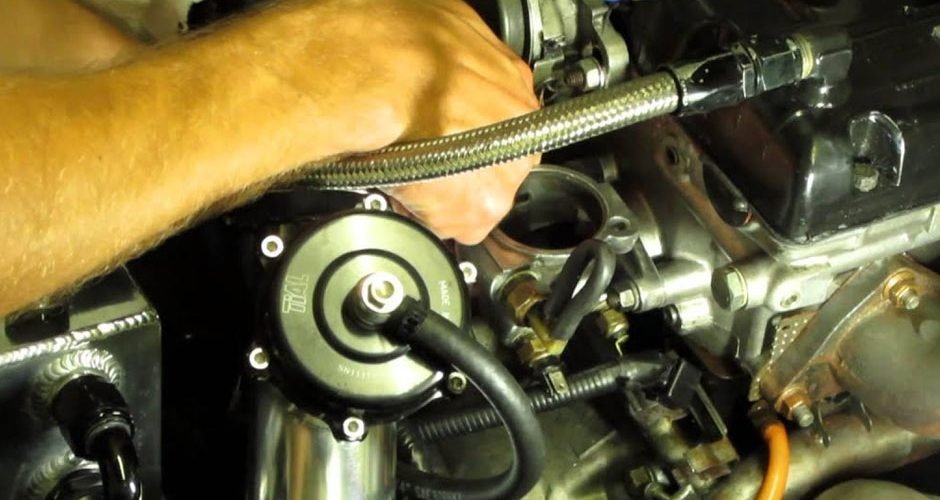
First, ensure the engine is cool to touch and the pressure has subsided. Drain the coolant from the system by opening the valve at the bottom of the radiator—place a container underneath to catch the fluid. Once drained, locate the defective turbo coolant line susceptible to corrosion or kinking over time. Remove the clamps at both ends using a screwdriver or a clamp tool. Carefully detach the old heater or rubber hose, being cautious not to damage the thermostat housing or the water pump connections.
Installing the New Coolant Hose
To verify compatibility before installation, compare the new Duramax turbo coolant hose kit with the old one. Use silicone hose variants as they offer superior material benefits, resisting wear and providing enhanced efficiency. Secure the new coolant return line, starting from the thermostat housing side. If necessary, apply a small amount of lubricant to avoid damaging the hose. Fastenal bolts and clamps with appropriate pressure to ensure a snug fit without any leaks. Replenish the cooling system with coolant and inspect for leaks by running the engine. The right installation will prevent common issues related to overheating, increasing the longevity of the turbocharger and the Chevy Silverado or similar vehicles equipped with an LBZ Duramax engine.
Conclusion
Replacing the Duramax turbo coolant hose is a task that can be accomplished with the correct tools and a systematic approach. They must follow the recommended steps to avoid coolant leaks and ensure the longevity of the turbocharger system. Regular maintenance and careful inspection of the coolant hose are advisable to prevent heat-related failures and costly repairs. Choosing quality parts and adhering to safety guidelines during the replacement process cannot be understated.


