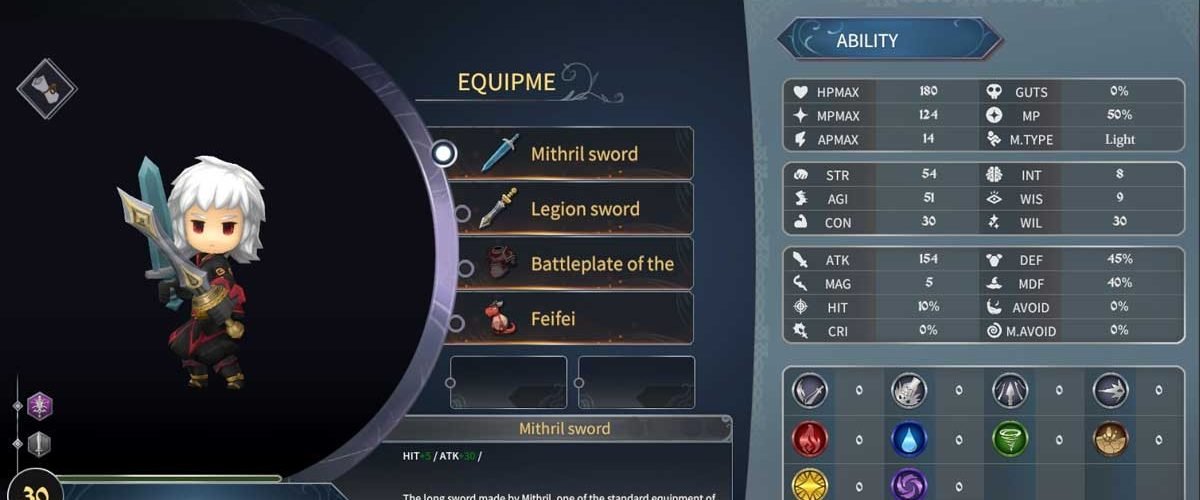
Are you looking to translate your favorite game into English? Well, look no further! We’ve outlined the basic steps necessary to get started. Keep in mind that there are many different ways to approach translation, so feel free to experiment and find what works best for you. With a little hard work and some creativity, you can bring your favorite game to an international audience.
Step 1: Find a translation team
The first step is to assemble a translation staff. You might be tempted to try and translate the game yourself, but in most cases, you’ll need help if your translation is to meet professional standards. The translation is time-consuming work, so it’s best done by more than one person in order to lighten the load. Most translation teams consist of between three and five members at any given time, but they can be much larger when necessary.
A good translation team will have an editor for spelling and grammar issues, another member who specializes in technical terminology, another for dialogue lines (or written text), and possibly even another for cultural references or jokes that don’t translate well into other languages. A translation project can also include an artist, who will be responsible for translation-friendly font creation and translation reference materials.
Step 2: Acquire a translation tool
Once your team is assembled, the first thing you’ll need is a translation program or utility that allows you to efficiently translate text from one language into another. However, it’s important to remember that every game has its own unique challenges when it comes to localization. For example, some games may require extensive dialogue translation due to heavy voice acting or large amounts of text.
Other games might have high-quality artwork with equally detailed translation needs. Still other games may have translation needs that are more technical in nature, requiring translation of programming documentation for the game engine or middleware tools. When choosing a translation tool, it’s important to keep these unique translation factors in mind.
Step 3: Create translation documents
Once you have your translation program installed and ready, it’s time to start translating! The first thing you need to do is create some translation documents that will contain English values for text values within the game files. This way, each line of dialogue will only appear once on-screen instead of being displayed several times back-to-back with different language values.
To do this, open up the translation program containing the source language and import all translation documents from the game. Make sure each translation document corresponds with a separate text resource in the game’s files, and if not, make a translation document for each. After adding all translation documents to your program, you’ll need to establish translation constants so that every line of dialogue will display English values instead of source language values.
Step 4: Open up the game files
Next, open up the game files on your computer or console. You should see several different directories containing various assets such as movies, images, level data, and sound effects.
The trick is to find where the game stores its text-based resources (such as subtitles or scrollable information) because these are the files that you’ll translate first. To do this, look for files with extension names that begin with “SCR”. If you can’t find any of these texture folders, you’ll need to track down the game’s translation documents instead.
Step 5: Open up translation documents
Next, open up each translation document containing text values inside your translation program. For more complex games, this may involve opening multiple translation documents at once or even translating more than one translation document at a time (such as when working with dialogue lines), so plan accordingly. Once opened, you can see all of the English values displayed on-screen and ready for translation.
Step 6: Translate everything
Now it’s time to translate! The translation process can be long and arduous depending on how much text there is to translate, but it’s best to take translation one step at a time. To start, type in each translation value into the translation document on-screen.
Make sure that no source language values remain in the document when you’re finished (or else the game will display multiple English text lines instead of one). If your translation program has an auto-translate function, feel free to use it if you want. After completing the translation for each text resource, save everything and open up the next translation document. Repeat this process until all translation documents have been translated and saved.
Step 7: Test out your translation
After all translation documents have been successfully completed, it’s time to test them inside the game! Load up your chosen platform and track down the translation documents that you just translated. Start by choosing a text-based resource and pulling up its translation on-screen — this may involve scrolling through some bit of in-game dialogue or even visiting a specific menu location. If the translation looks good, move on to the next translation document and check it out as well. Repeat this step until all translation documents have been tested for accuracy, taking special note of anything that might require more translation time or revision (such as mistranslation issues)
Now that you’ve finished creating translation documents and translating them into English inside your game, it’s time to get them out there!
That’s it for our guide on how to translate a game to English! Hopefully, you now have a good idea of the basics needed to get started. If you want more practice, or need help with specific words or phrases, be sure to check out some of the great resources available online. Thanks for reading and happy translating!


